Aim
Upgrade the CI Sync Agent to a later version.
Process
Task 1 - Download the CI Sync Agent from the CI Sync SaaS UI
-
On the VM that has the CI Sync Agent installed.
-
Login to your CI Sync SaaS instance at https://YourCo.syncfish.app
-
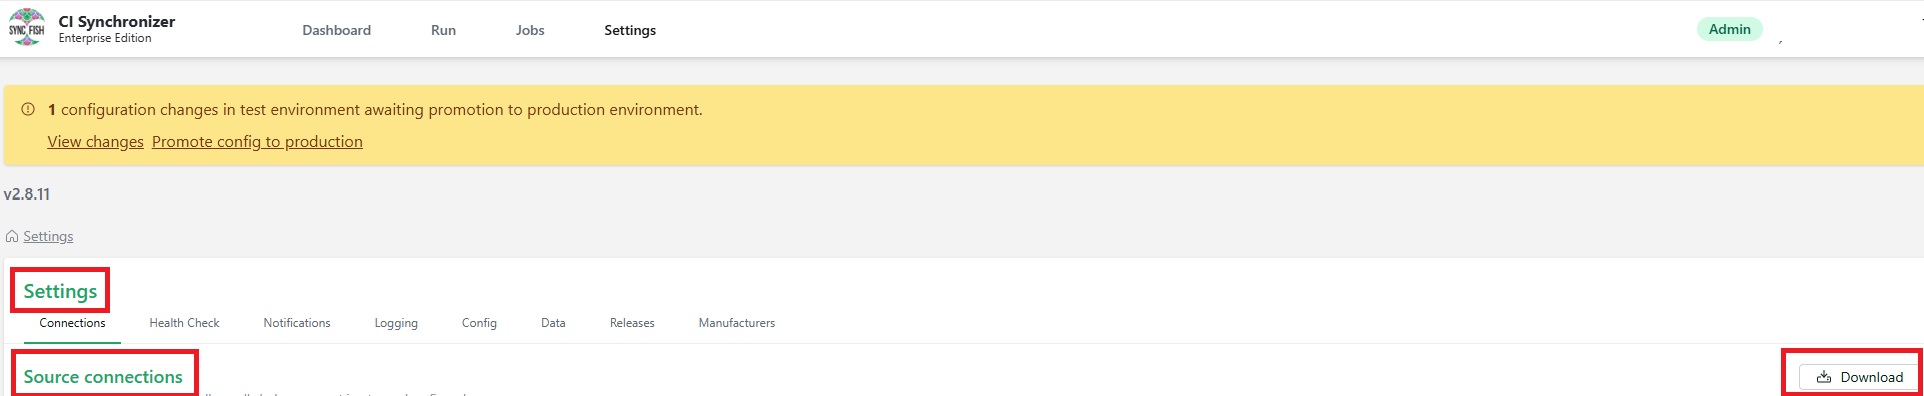
In the CI Sync UI, navigate to Settings > Connections.
-
Click the “Download” link next to the Source Connections list.
-
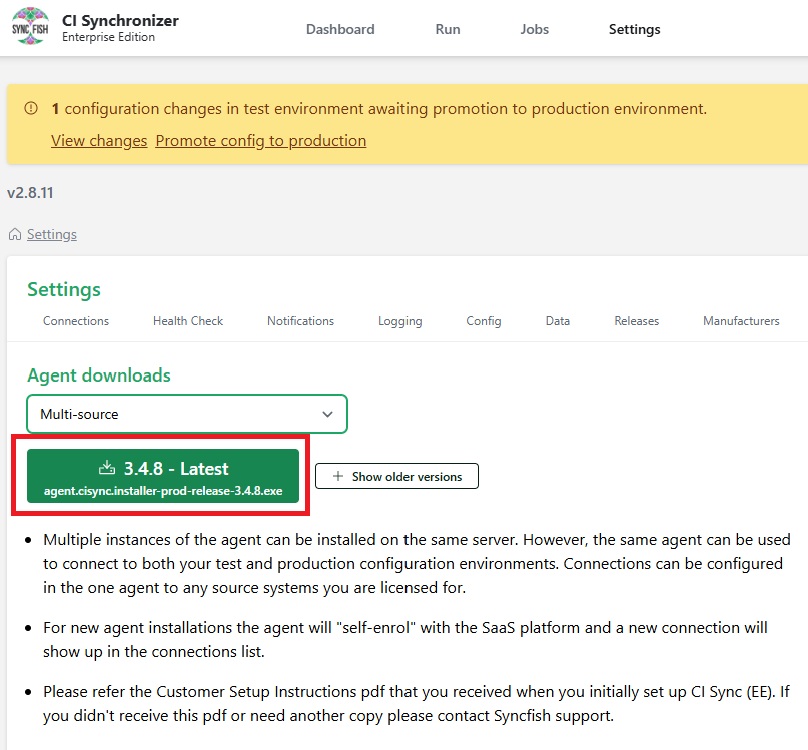
Click the green Agent installer button.
Task 2 - Install the new version of CI Sync Agent
-
Navigate to the Downloads folder.
-
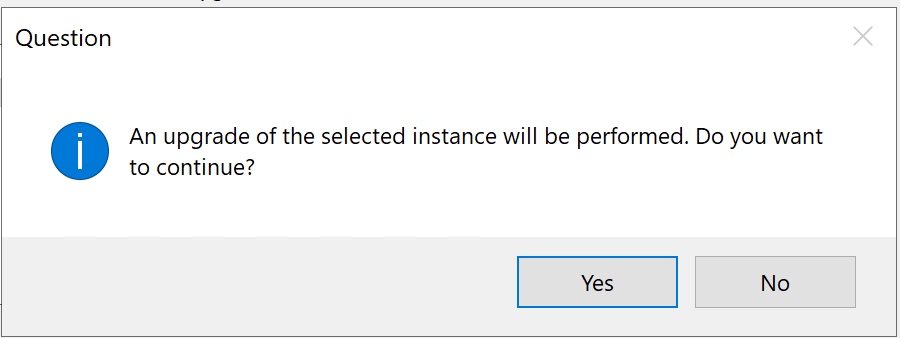
Double click the Agent Installer file you just downloaded.
-
Click Yes to continue.
-
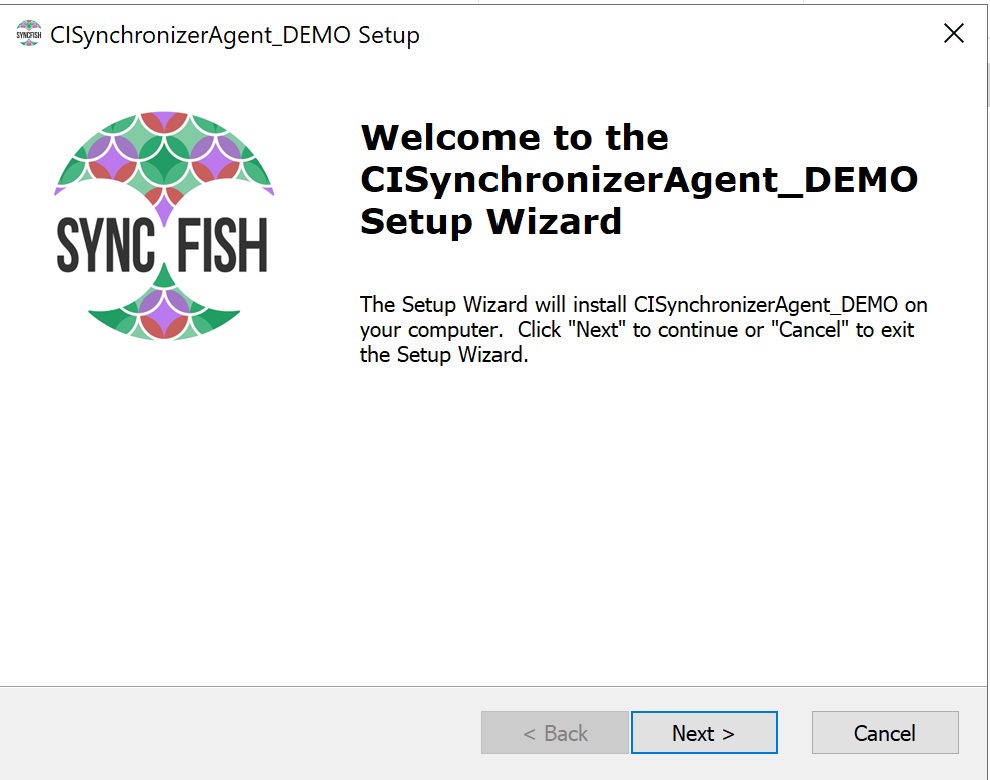
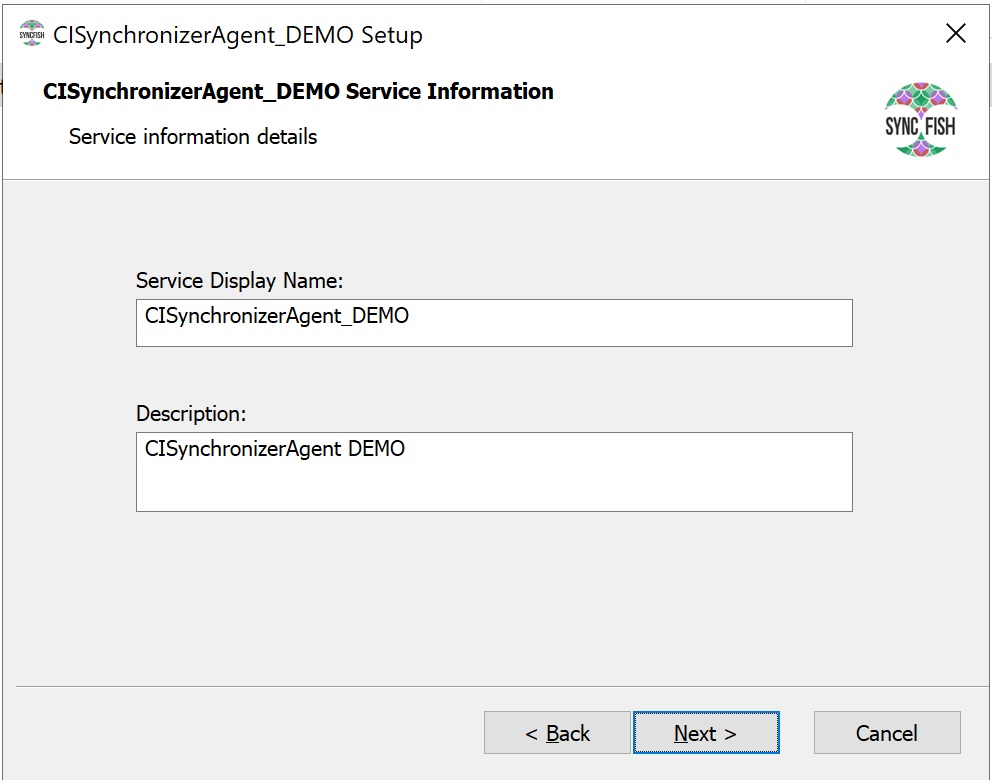
Click Next
-
Click Next
-
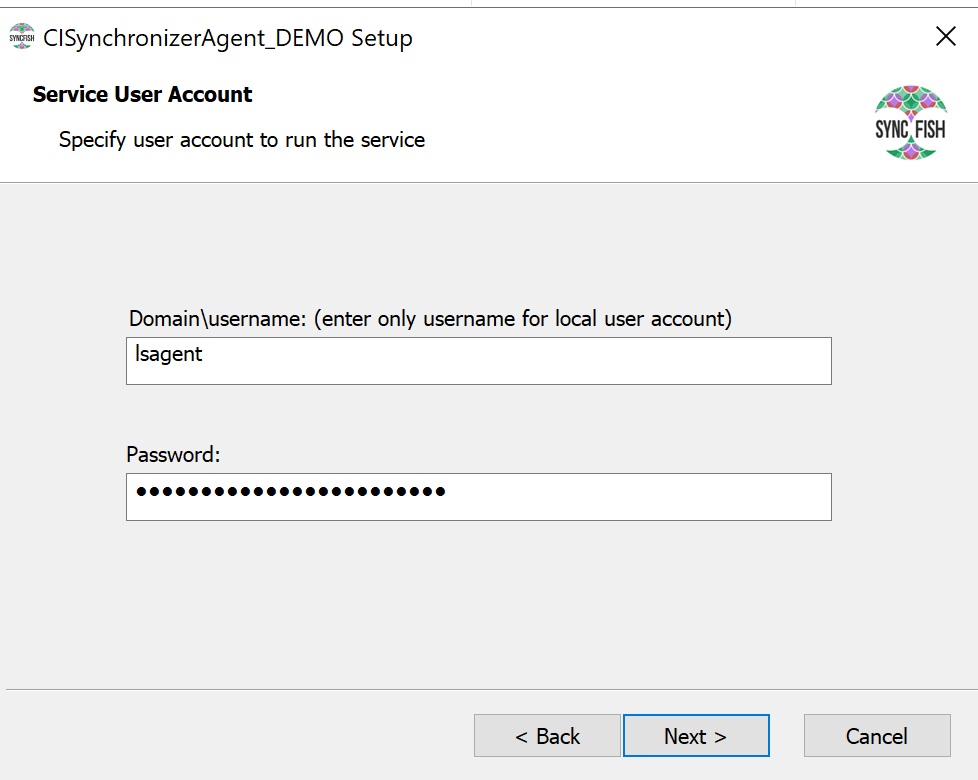
Enter the name for the Service Account
a. Enter the local user account (e.g. lsagent).
b. Enter the password for the account
c. Click Next
-
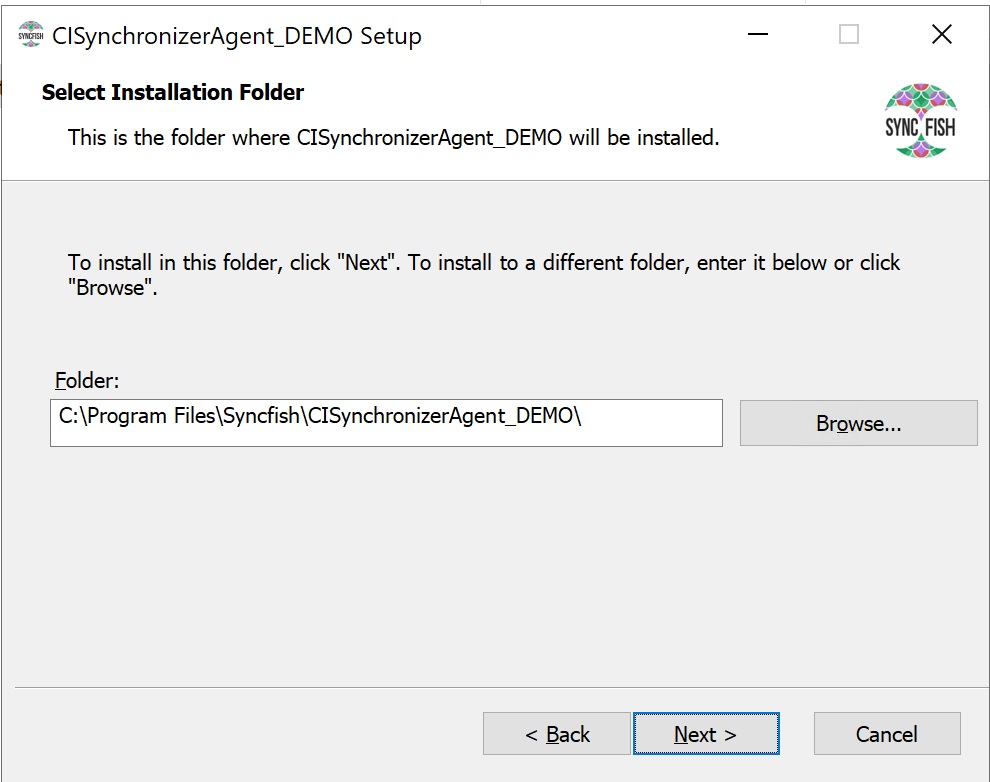
Click Next
-
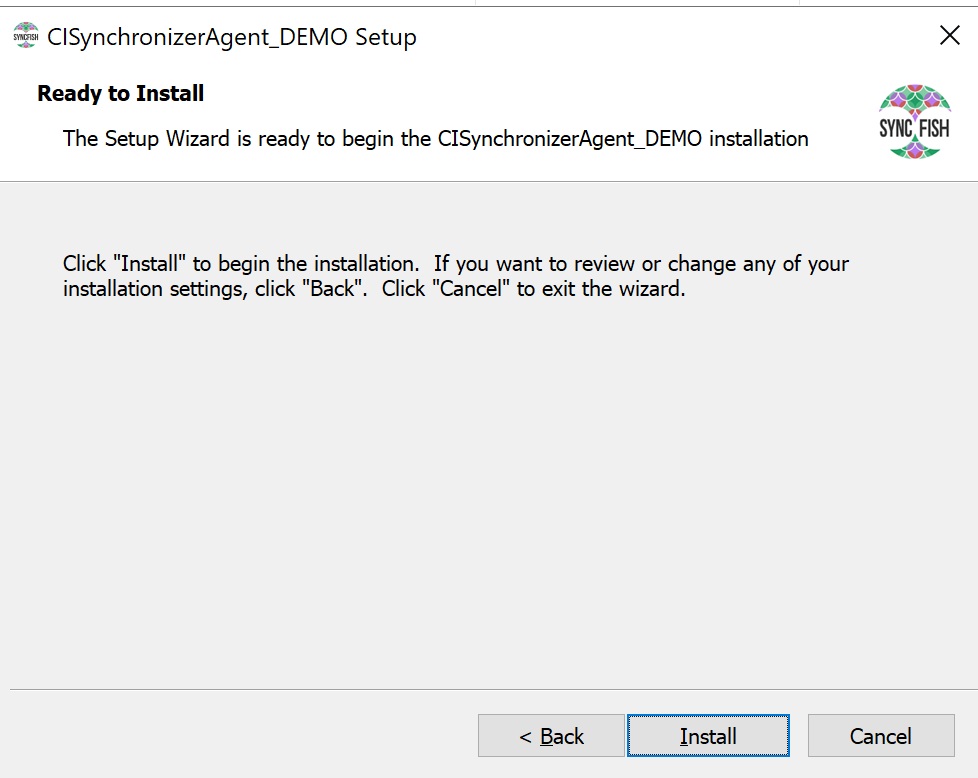
Click Install
-
Click OK

-
Click Finish
-
Upon completion the CI Sync Agent Config Utility will be automatically launched.
Related Articles
There are currently no related articles.
Control Information
|
Created |
|
|---|---|
|
Reviewed |
|
|
Data Classification |
PUBLIC
|