Aim
Update an expired Client Secret (by regenerating the Client Secret) for the AAD/Entra ID App Registration that represents the CI Sync Agent itself (as distinct from any client secrets/app registrations for individual source connections such as InTune or Azure).
Once the Client Secret has been regenerated (via the Azure Portal), the instructions explain how to update the secret using the CI Sync Agent Config Utility User Interface.
Process
Step 1 - Regenerate a new Client Secret using the Azure Portal
-
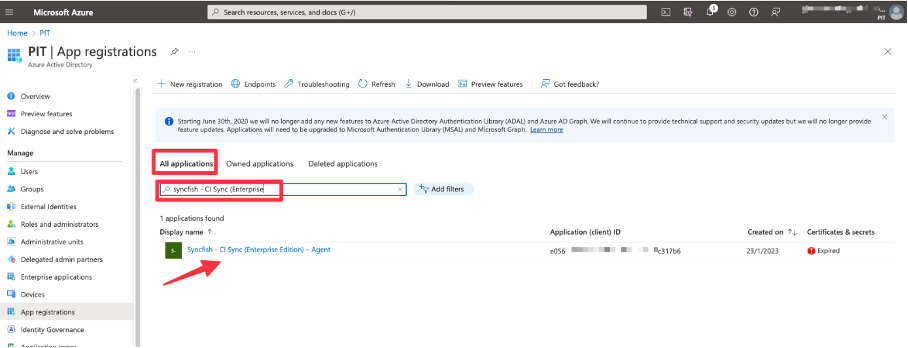
In the Azure Portal, navigate to Azure Active Directory -> App Registrations and click All Applications
-
Locate the App Registration that you originally created for the CI Sync Agent (e.g. “Syncfish – CI Sync – Agent”).
-
Select the App Registration under the Display Name column.
-
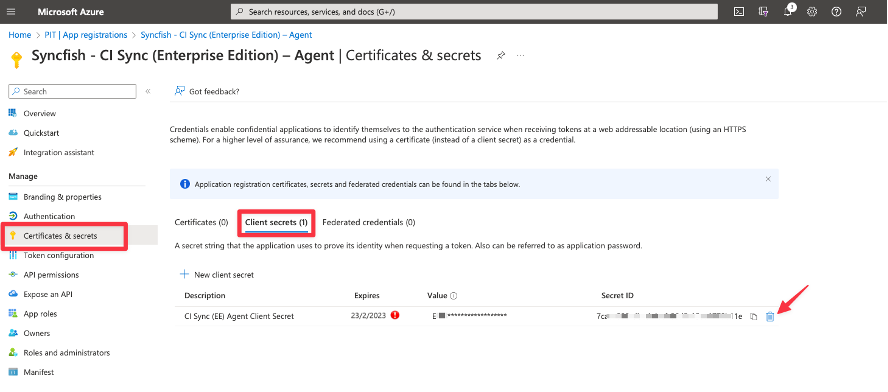
Select Certificates & Secrets and use the Trash icon to delete the existing/expired Secret.
-
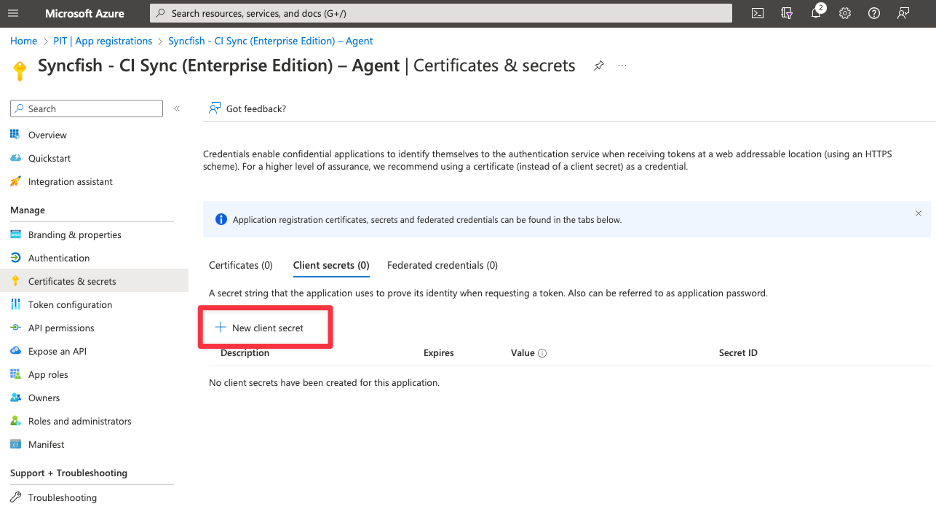
Click the “New client secret” button.
-
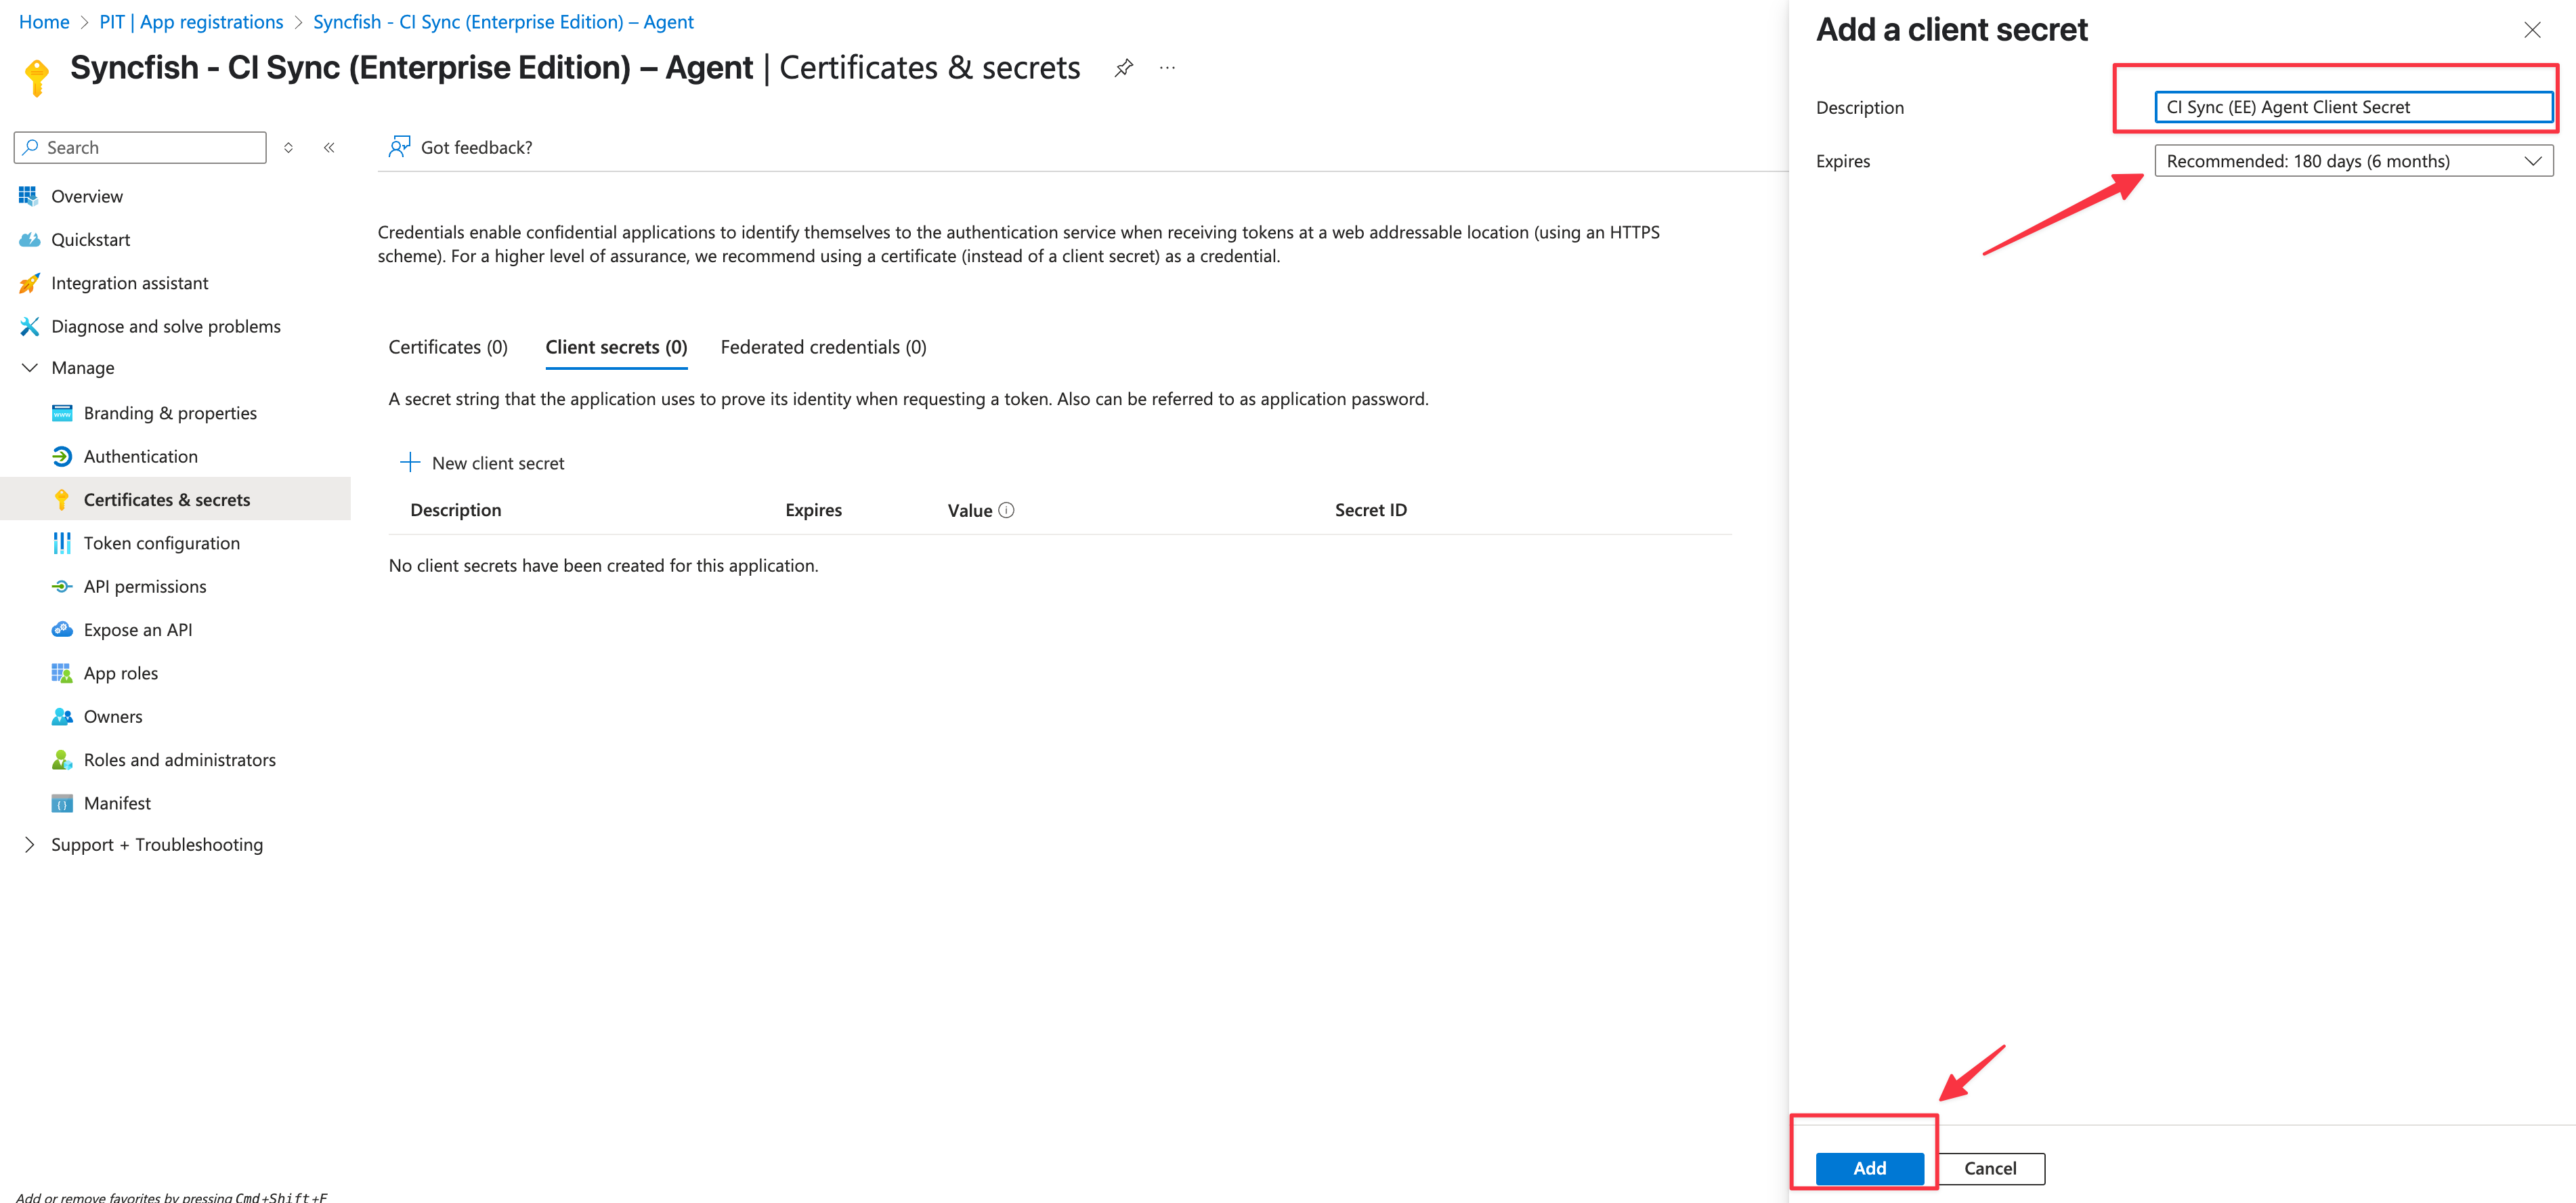
Enter a unique Description for the secret associated with the CI Sync Agent App Registration.
-
Then, select a suitable Expires duration based on your organisational policy. Finally click the Add button.
-
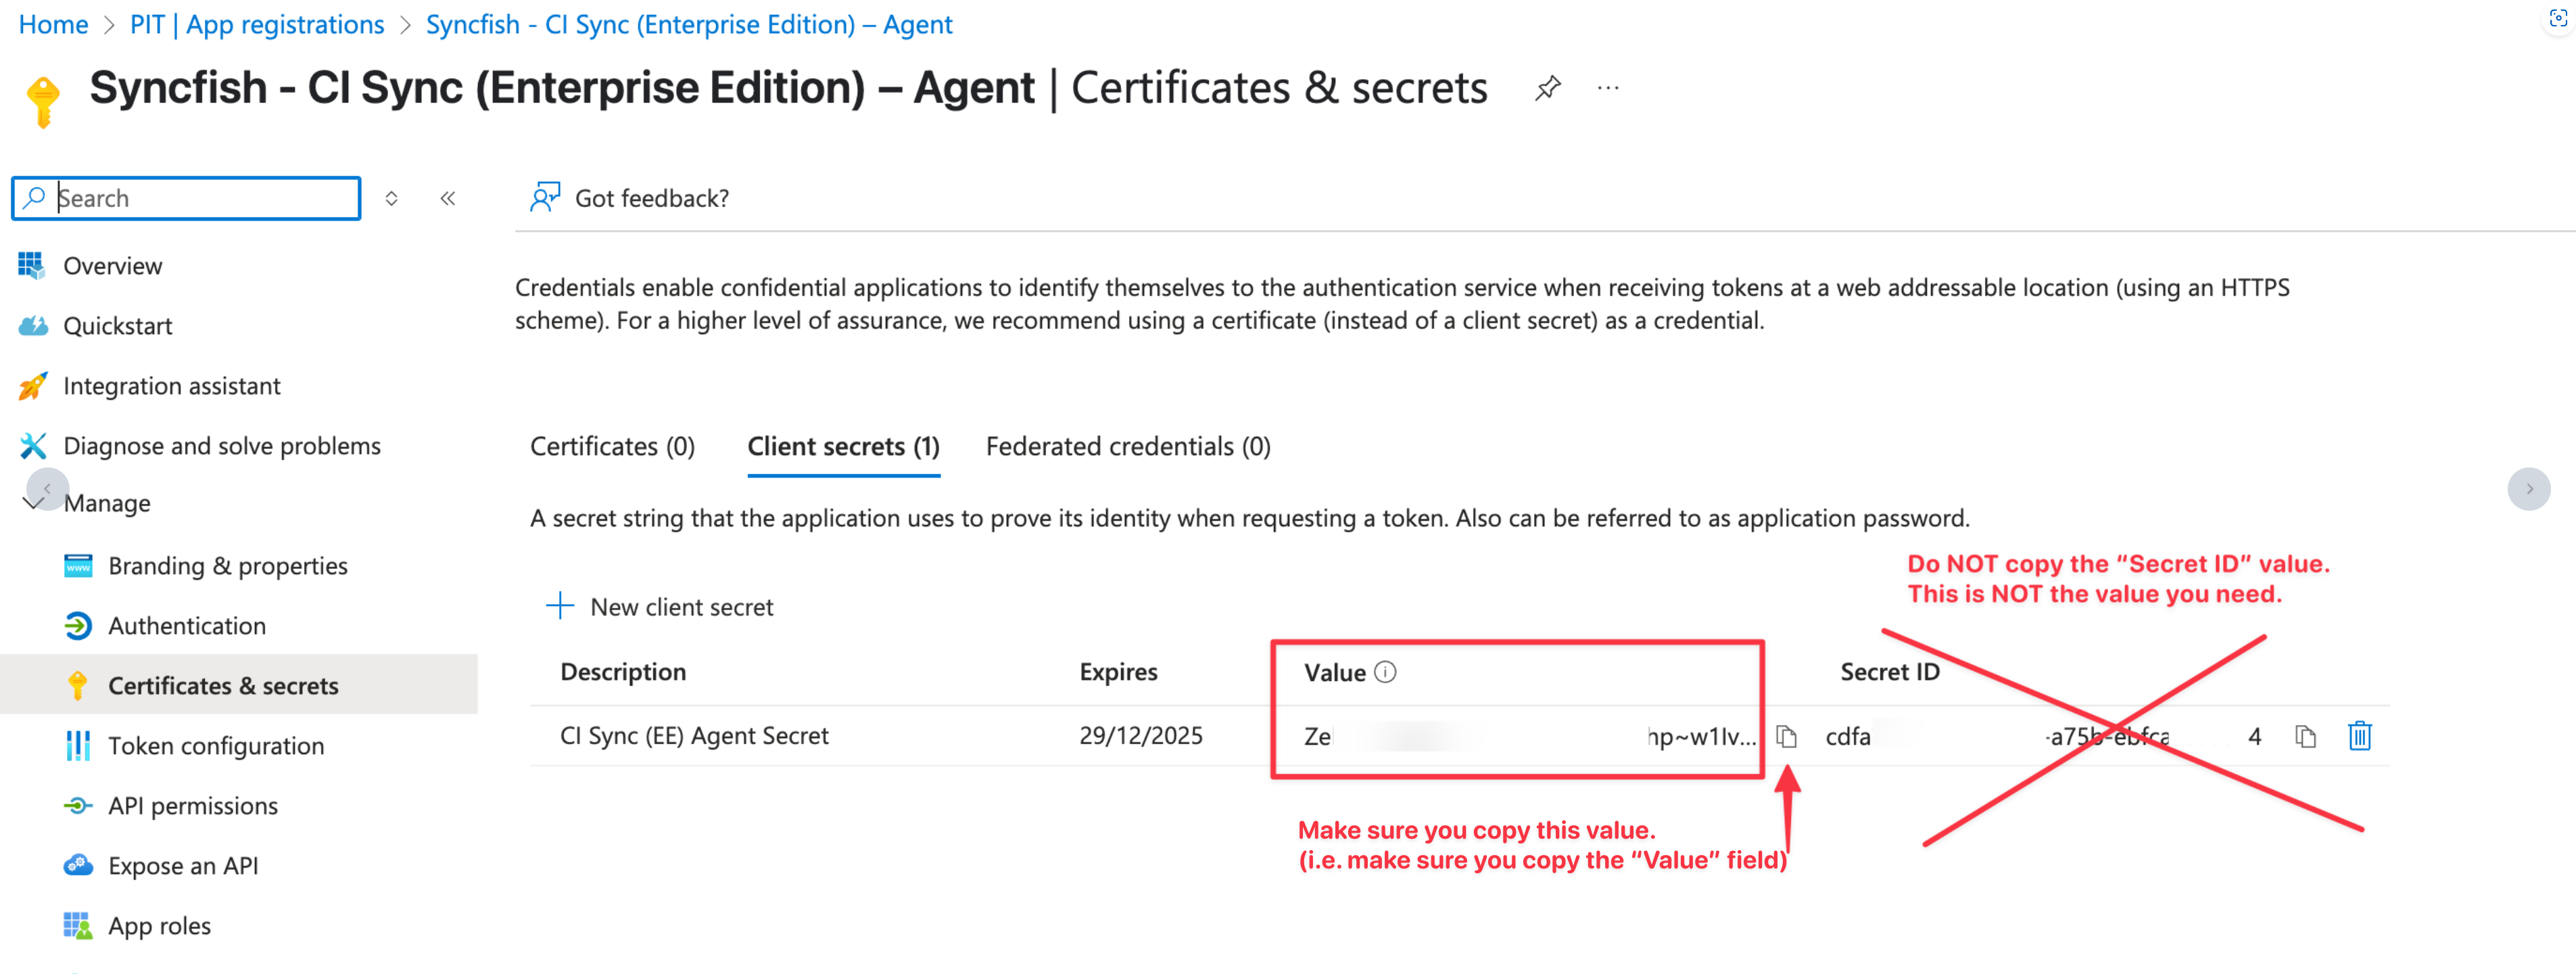
The form now displays the generated secret value (shown in the Value field). Of Note:
-
The Value is only available while you remain on this screen (i.e. you must make a copy of the Value field before leaving this form).
-
Using the form, make a copy of the value in the Value field
-
Data Capture Note
You will need the “Value” when performing Step 2 below (i.e. when you use the CI Sync Agent Configuration Utility to store the updated Client Secret).
Step 2 - Use the CI Sync Agent Config Utility to store the updated Client Secret
-
Perform the following steps on the server where the CI Sync Agent is installed (referred to as the “CI Sync Agent Server”).
-
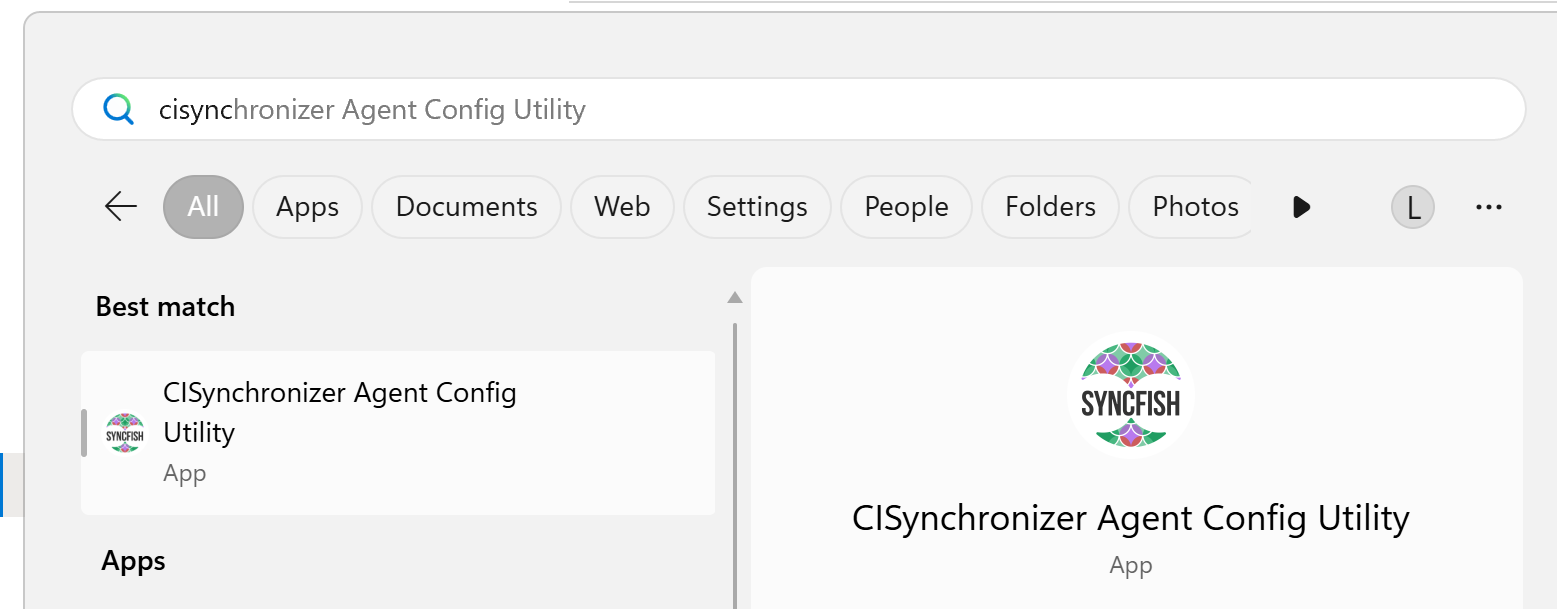
Locate and run the “CI SynchronizerAgent Config Utility” program from the Windows Start Menu.
-
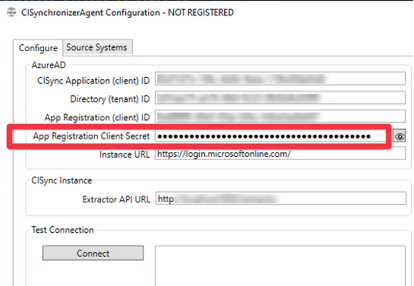
Click the Configure tab and paste the new Client Secret (generated in Step 1) into the “App Registration Client Secret” field on the form.
-
In the Test Connection section, click “Connect”.
-
Follow any remaining prompts to save and exit.
-
As a further verification you should do do the following:
-
Login to your CI Sync SaaS UI (at https://YourCompany.syncfish.app/)
-
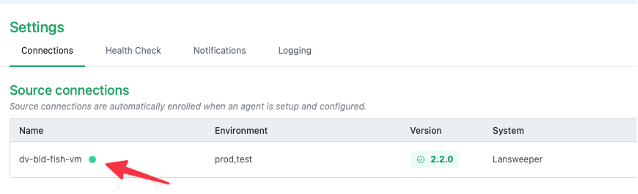
Navigate the Settings Page and under Connections
-
Confirm you have a green light against the CI Sync Agent connection.
-
Related Articles
There are currently no related articles.
Control Information
|
Created |
|
|---|---|
|
Reviewed |
|
|
Data Classification |
PUBLIC
|