Connector Applicability
|
Applies to Source Connectors |
Lansweeper On-Prem |
|---|---|
|
Applies to Destination Connectors |
All |
Assumptions
These instructions assume you have already setup a source connection in CI Sync for Lansweeper On-Prem using the CI Sync instructions here: Add Lansweeper On-Prem.
Pre-Read
Syncfish recommend customers read the following documentation before changing the Connection Setting/s described below.
-
Rule 20 - Application Service Mapping using Service Numbers in Lansweeper On-Prem
-
How-to - Setup Application Service Mapping for use with CI Synchronizer and Lansweeper On-Prem
Locating and Amending the Connection Setting in the CI Sync UI
-
Navigate to the Settings page
-
Under the Source Connections heading (list), locate your Lansweeper On-Prem connection.
-
Click the Update link on the right hand side of the Lansweeper On-Prem connection.
-
Scroll down and locate the Section Heading and view the Individual Settings.

The screen shot is provided only as sample to assist when reading this page. The state of your own CI Sync UI will depend on whether you are starting from the CI Sync default position or if you have already amended one/more of the settings.
-
Tick the Override default box/boxes and then use the sliders related to the individual settings. The following table elaborates any further information about these particular settings.
|
Setting |
Type |
Additional Notes |
|
Enable Application Service Mapping |
Slider |
When enabled, this setting triggers the following: Firstly, the setting exposes the Application Mapping record set to be selectable on the Selections Page when creating a CI Sync Job via the Run UI. 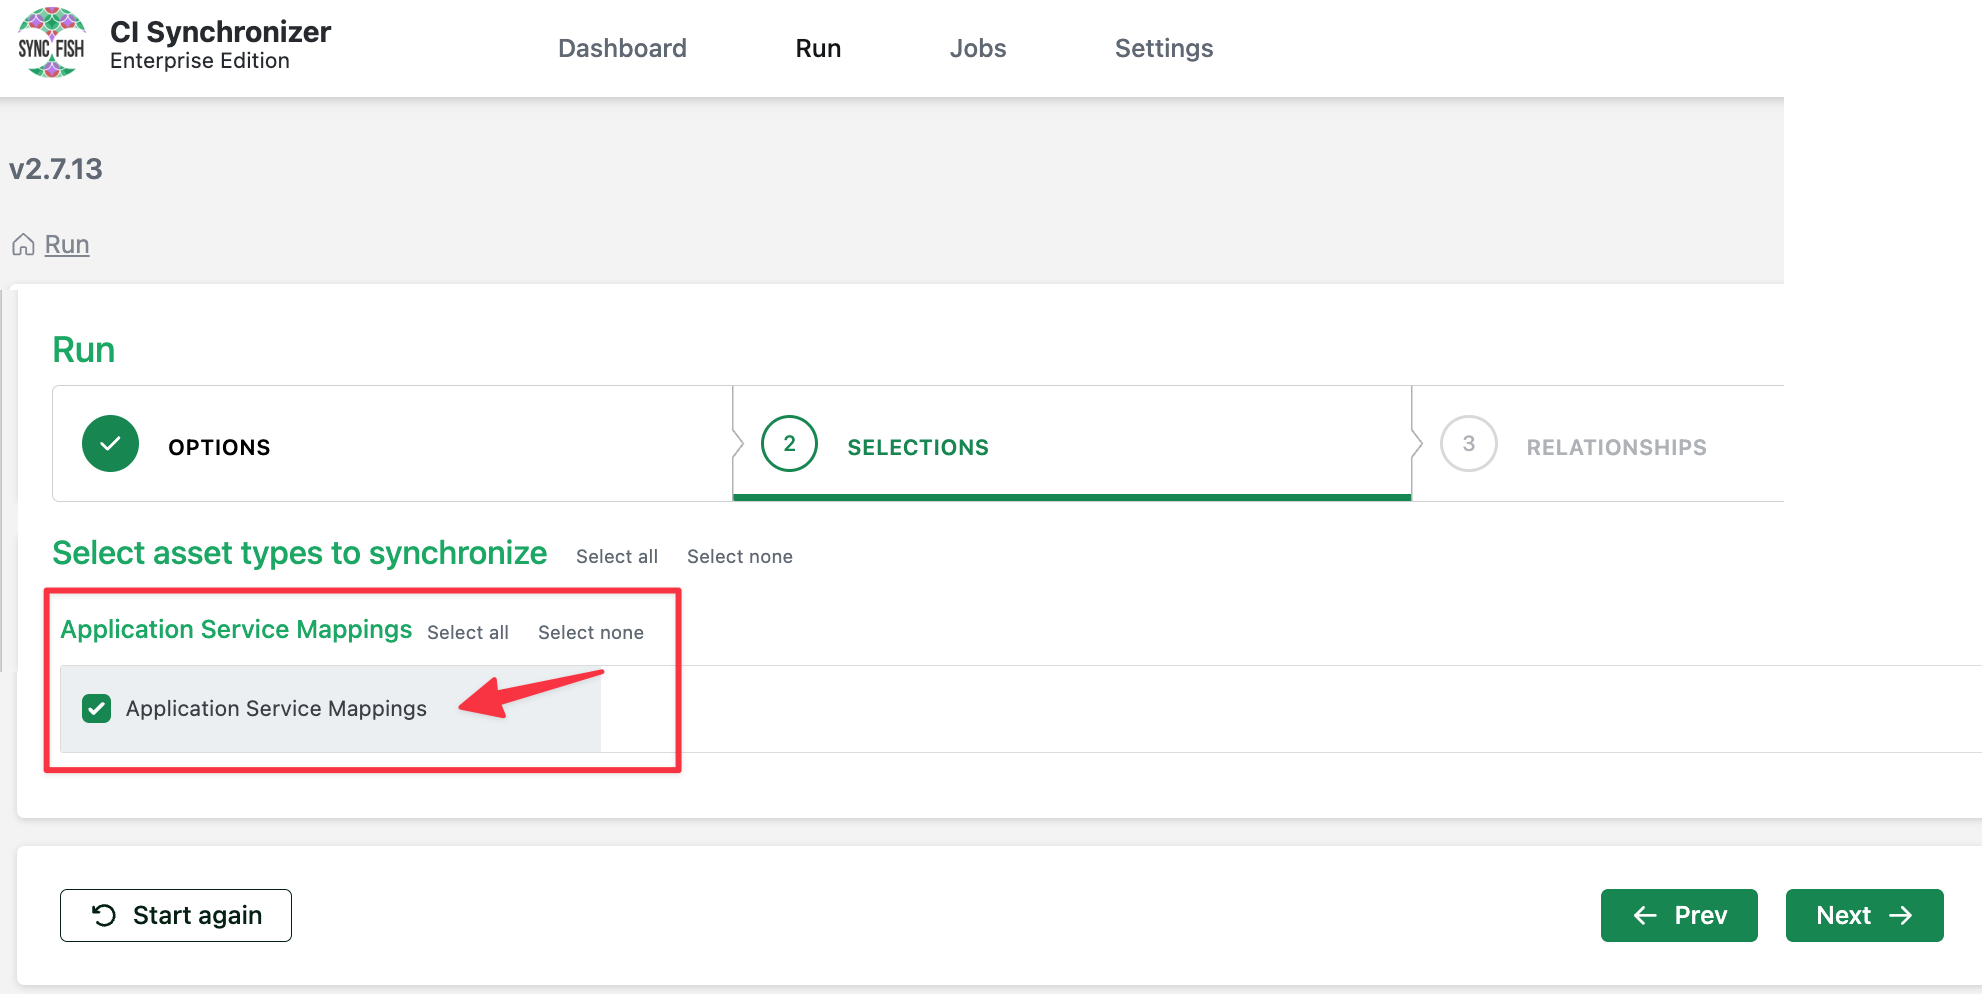
Make sure you also select the recordset/s corresponding to the assets you have entered Service Number values against. If the subject asset hasn’t been previously synchronized, CI Sync will not be able to create the relationship between the asset and the Application Service. Note: Don’t worry if you synchronize without selecting the correct recordset/s, you can run the job again and any of the application service mapping records that were ignored will be automatically re-processed. Next, the setting enables the subsequent settings (see below) allowing you do define which attribute/s on Lansweeper Asset/s hold one or more of the service number/s associated with Application Service record/s in ServiceNow. CI Sync jobs can then create relationships between Lansweeper Assets (using the service number/s read from resourcs with matching asset attributes) and the corresponding Application Service/s. Creating these relationships triggers ServiceNow to then generate the Application Service Map. NOTE: If you haven’t already, we recommend reading the following Syncfish “How To”. The How To explains the end to end process to configure ServiceNow, Lansweeper and CI Sync to achieve Application Service Maps in ServiceNow. Please read: How-to - Setup Application Service Mapping for use with CI Synchronizer and Lansweeper On-Prem |
|
Service Number Custom Field Name |
String |
Use this setting if you want to use a Lansweeper Custom Field as the source of Service Number/s. Enter a the name of the Lansweeper Custom Field that contain one or more service number/s of the corresponding Application Service record/s in ServiceNow. Example service_number Example Explained CI Sync will extract the value (or values) from the Custom Field called service_number. CI Sync will then use the extracted value/s to create relationships between the CI in ServiceNow and the corresponding Application Service/s in ServiceNow. |
|
Service Number Registry Key Like Pattern |
SQL Pattern |
Use this setting if you want to use a Windows Registry Key (discovered via Lansweeper) as the source of a Service Number. Enter a SQL like patten to match against the registry keys discovered against each asset discovered by Lansweeper (i.e. the Registry Keys that store the Service Number of the related Application Service record in ServiceNow). Example HKEY_LOCAL_MACHINE\SOFTWARE\MyOrg\% Example Explained CI Sync will extract the value from any registry key at or below HKEY_LOCAL_MACHINE\SOFTWARE\MyOrg\. CI Sync will then use the extracted value to create a relationship between the CI in ServiceNow and the corresponding Application Service in ServiceNow. |
|
Service Number Registry Name Like Pattern |
SQL Pattern |
Use this setting if you want to use a Windows Registry Key (discovered via Lansweeper) as the source of a Service Number. Enter a SQL like patten to match against the registry key discovered against each asset discovered by Lansweeper (i.e. the Registry Key Names that store the Service Number of the related Application Service record in ServiceNow). Example
Example Explained CI Sync will extract the value from any registry key names that equal “ServiceNumber”. CI Sync will then use the extracted value to create a relationship between the CI in ServiceNow and the corresponding Application Service in ServiceNow. |
-
After modify the settings, scroll to the bottom of the page, tick the “I consent…” checkbox and finally click the Save connection button.
-
You can now run a sync job and the amended settings will be applied causing the CI Sync Data Sync rules to be modified accordingly.
Importantly
Make sure you consciously override the setting against either your TEST or PROD environment (i.e. your TEST vs PROD sync jobs).
For more information on how to use TEST vs PROD Connection Settings please read Understanding the use of CI Sync Connection Settings.
Syncfish strongly recommend making changes for TEST environment/sync jobs first. Only modify PROD related settings after thoroughly validating the intended results in TEST.