Extended Page Title
Step 4 - Install the CI Sync On-Premise Multi-Source Agent
|
Task # |
Task |
Performed by |
|---|---|---|
|
1 |
Create a Windows Service Account for the CI Sync Agent to use |
Infrastructure SME |
|
2 |
Configure the Windows Service Account |
Infrastructure SME |
|
3 |
Download the CI Sync Multi-Source Agent from the CI Sync SaaS UI |
Infrastructure SME |
|
4 |
Run the CI Sync Agent installer wizard |
Infrastructure SME |
Task 1: Create a Windows Service Account for the CI Sync Agent to use
Option 1: Use a Local Windows Service/User Account
Expand the instructions below if you are using a Local Windows Service/User Account on the VM that will have the CI Sync Agent installed.
Click to expand the instructions
-
Login to the console of the Server/VM using an account that has Local Administrator rights.
-
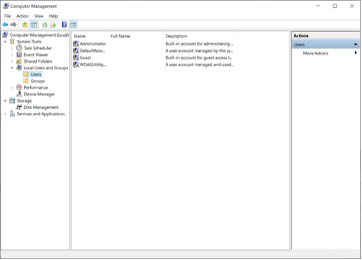
Navigate to Computer Management -> Local Users and Groups -> Users
-
From the Action menu select New user… and do the following:
-
Enter the User name (e.g. svc-cisync-agent)
-
Enter the Full name (e.g. see screen shot)
-
Enter the Password
-
Confirm the Password when prompted
-
It is recommended to set the checkbox values shown below (or amend to your company policy)
-
Click the Create button
-
Add the user to the “Users” group.
-
The user needs to be in the Users group only. It does not need to be in any elevated groups.
Data Capture Summary
As a reminder, you should have captured the following information when completing the above steps.
-
The Service Account Username (from Step 2a directly above).
-
The Service Account Password (from Step 2c directly above).
Make sure the password is stored securely and in a way that can be shared with the CI Sync Admin so they can use it when the follow the instructions later on during S5 - Register the Multi-Source Agent & Setup Source Connections.
Option 2: Use an AD Domain Service/User Account
Expand the instructions below if you are using an AD Domain Windows Service/User Account for the CI Sync Agent.
Task 2: Configure the Windows Service Account
Perform the following steps on the server that will run the CI Sync Agent.
-
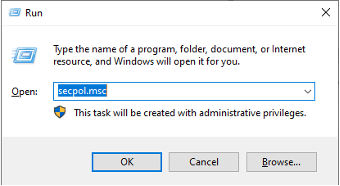
Run secpol.msc
-
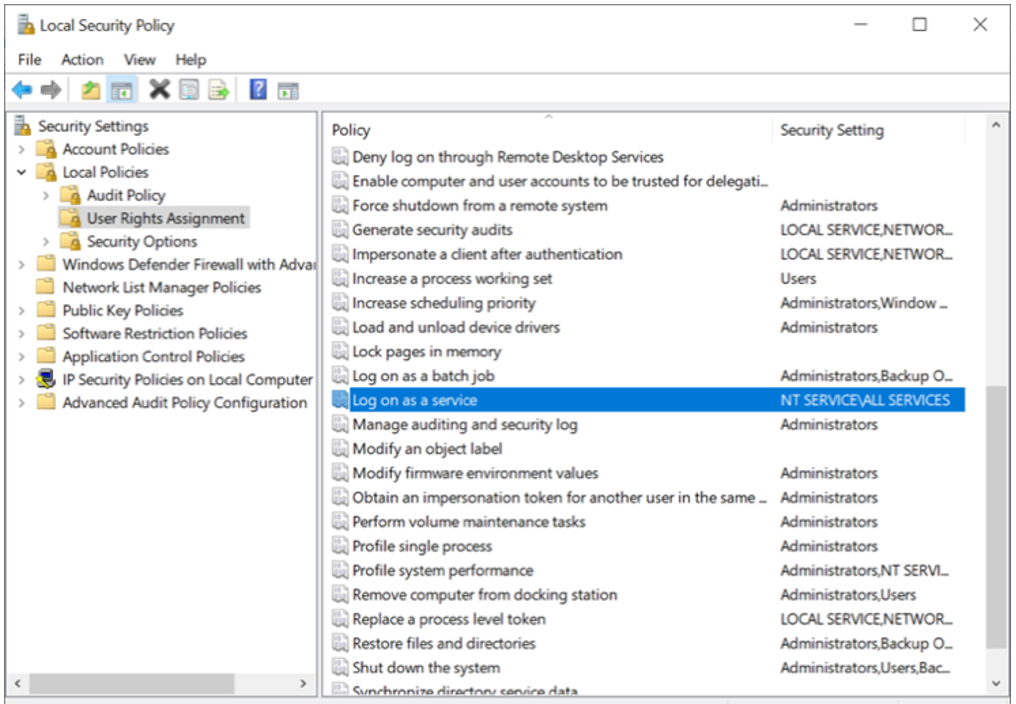
Navigate to Local Security Policy
-
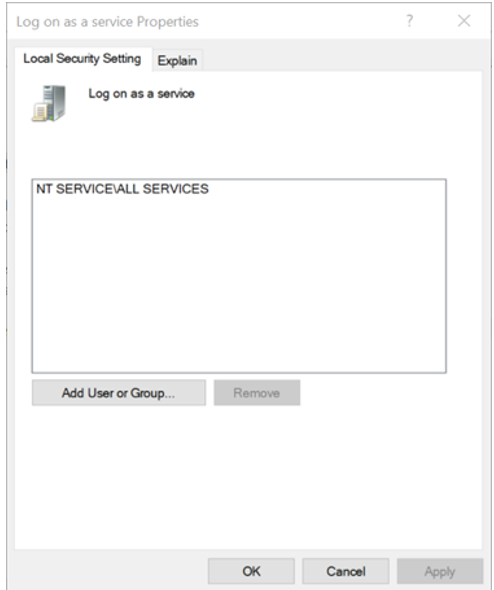
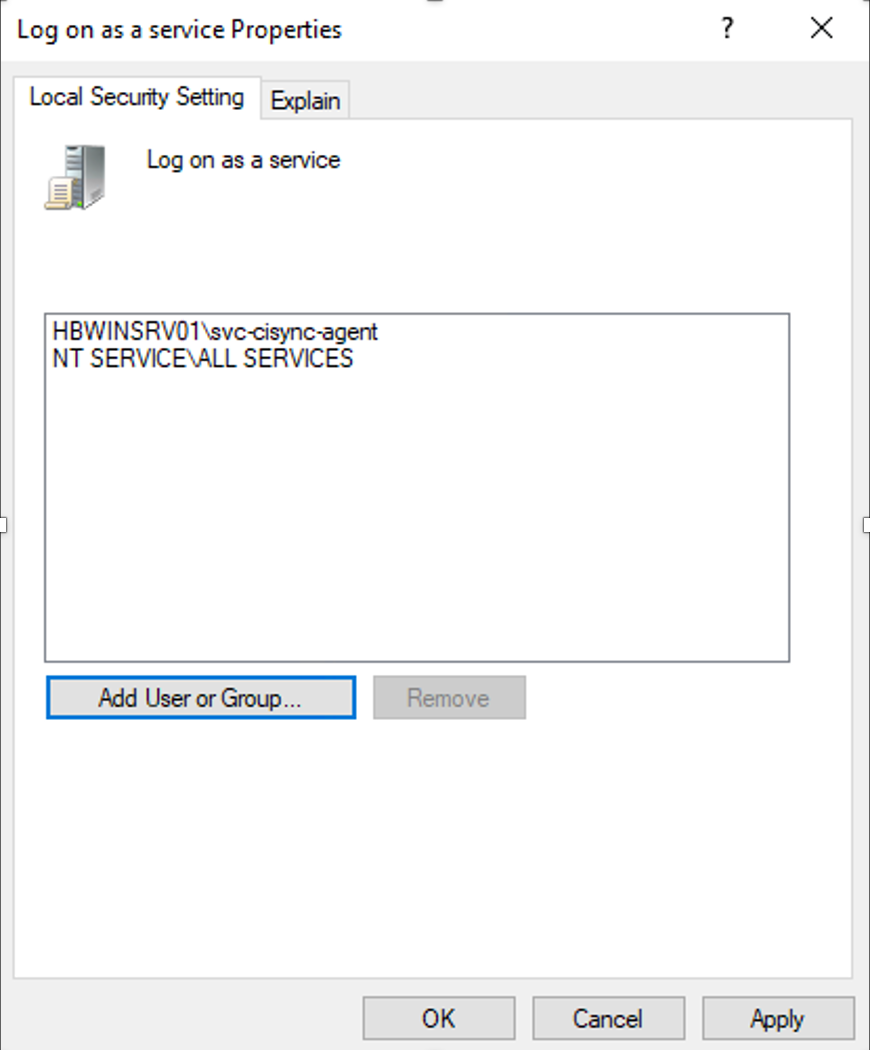
Navigate to Local Policies -> User Rights Assignment and double-click the Log on as a service list entry
-
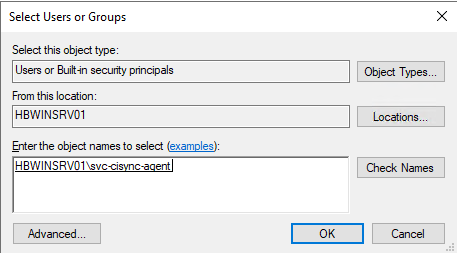
Click Add User or Group and enter the name of the user created above (either the AD Domain User Account or a Local Windows User Account)
-
Click Check Names
-
Click OK
-
Click Apply and OK
Task 3: Download the CI Sync Multi-Source Agent from the CI Sync SaaS UI
-
Login to your CI Sync SaaS instance at https://YourCo.syncfish.app
-
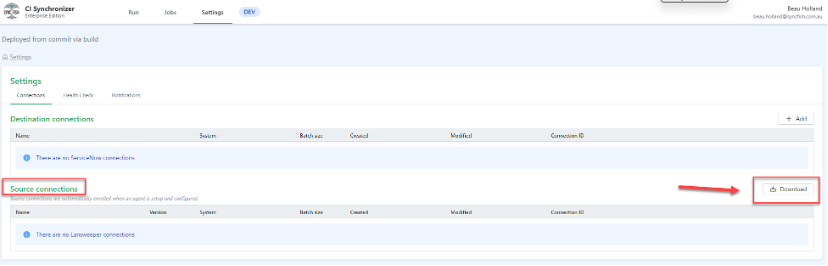
In the CI Sync UI, navigate to Settings > Connections.
-
Click the “Download” next to the Source Connections list.
-
Use the drop down list and select the “Multi-Source” option to select the CI Sync Multi-Source Agent described in these instructions, and then select the Download button.
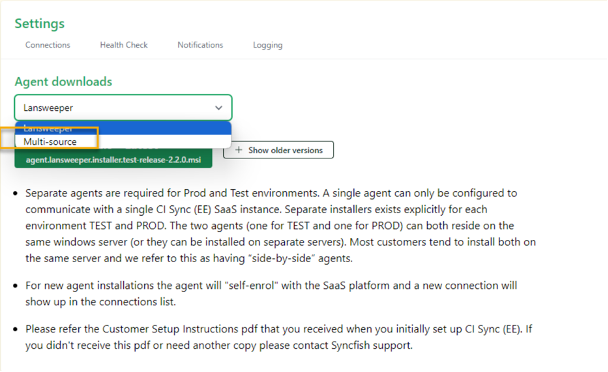
Guidance Note
The options presented in the drop down list are based on the CI Sync licence allocated to your organization. Please contact Syncfish if you do not see the “Multi-Source” option.
If you see just “Lansweeper” in the dropdown list this refers to the original “single-source” CI Sync Agent. Do not select the “Lansweeper” option if wanting to download/use the new “Multi-Source” agent described in these instructions.
Task 4: Run the CI Sync Agent installer wizard
Perform the following steps on the server that will run the CI Sync Agent.
-
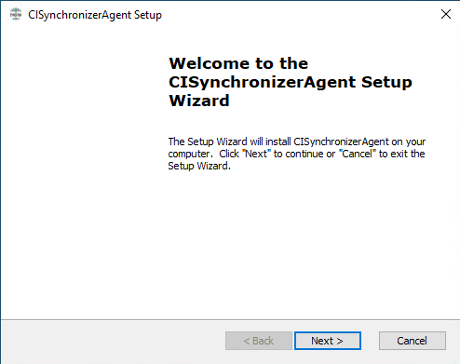
Run the CI Sync Agent installer to commence the installation.
-
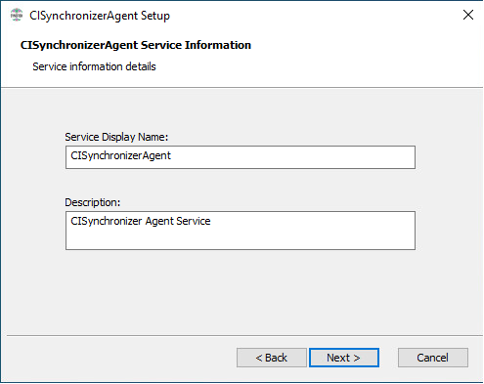
Click Next and change (if desired) the Service Display Name and Description
-
Click Next
-
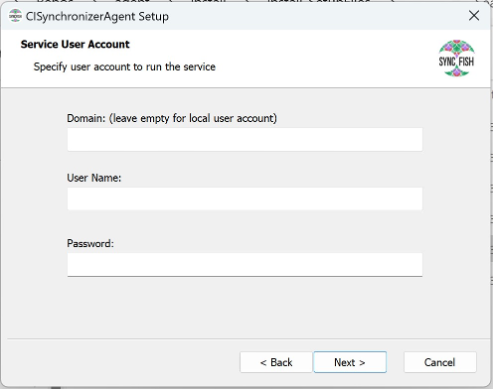
Enter the name for the Service Account created during Task 4a: Create a Windows Service Account for the CI Sync Agent to use. (either the Local Windows User Account or the AD Domain User Account).
-
If using a domain account, enter the AD Domain in the first field and the username in the next field.
-
OR, If using a local account, leave the first field (Domain) blank and just enter the local user account the second field (e.g. svc-cisync-agent).
-
Enter the password for the account
-
-
Click the Next button
-
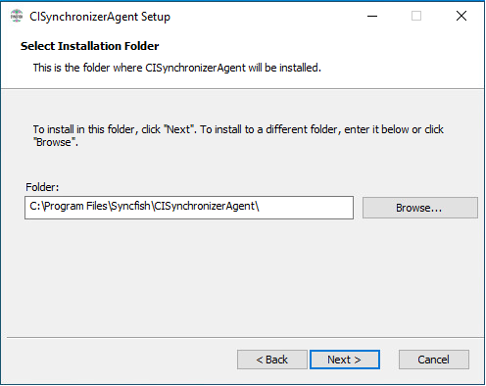
At Select an Installation Folder, change if required, and click Next
-
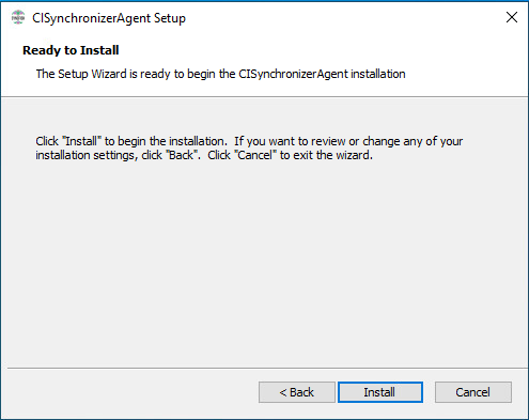
Click Install on the Ready to Install prompt
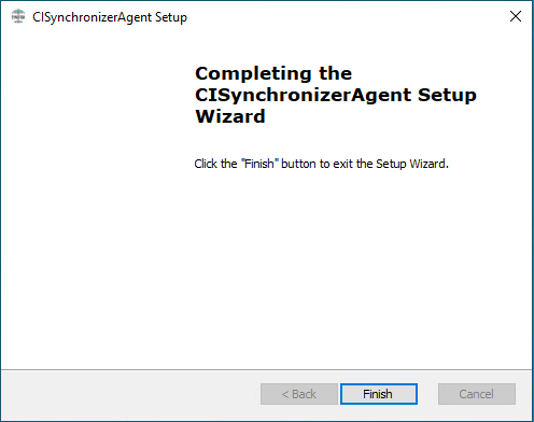
8. Wait for the installation to complete (several minutes).
-
Click Finish.
-
Upon completion the CI Sync Agent Config Utility will be automatically launched.
Instructions for using the CI Sync Agent Config Utility are in S5 - Register the Multi-Source Agent & Setup Source Connections.